
Skip to content

April 9, 2026 · Flooring insight

How to Prepare Your Home for Flooring Installation

A smoother install starts before arrival.

A smooth flooring project begins before the first tool enters the house. The goal is not to make the homeowner do the installer’s job; it is to remove uncertainty. When furniture responsibilities, access, material storage, pets, appliances, and finish details are decided ahead of time, the crew can concentrate on the floor.

One week beforeConfirm scope, materials, access, furniture, appliances, demolition, disposal, and who makes decisions if a hidden condition appears.

Walk the project in sequence

Start at the driveway and follow the route material and tools will take. Is parking available? Are stairs, elevators, or association rules involved? Where can cartons be stored according to manufacturer instructions? Which entrance should remain usable? A protected, direct path reduces disruption and keeps cutting dust and debris away from finished rooms.
Flooring installation underway in an occupied home
Clear routes and defined work zones help an active installation stay controlled.

Use a room-by-room checklist

01

Remove the small things

Pack fragile objects, electronics, floor lamps, plants, toys, loose décor, and low wall hangings. Empty the bottoms of closets included in the work.

02

Confirm the heavy things

Do not assume who moves beds, appliances, pianos, safes, aquariums, or large cabinets. Agree on responsibility and timing before arrival.

03

Protect what remains

Identify rooms that stay in use, HVAC returns, nearby furnishings, and surfaces along the access route. Discuss dust control for removal or grinding work.

04

Plan re-entry

Ask when the floor can accept foot traffic, furniture, rolling loads, or cleaning. Requirements differ by product and installation method.

Pets, children, and occupied homes

Active flooring work includes sharp tools, noise, open doors, adhesives in some systems, and temporarily inaccessible rooms. Arrange a separate secure space for pets and children. If you work from home, assume that calls and concentration may be difficult during removal, cutting, fastening, or grinding.
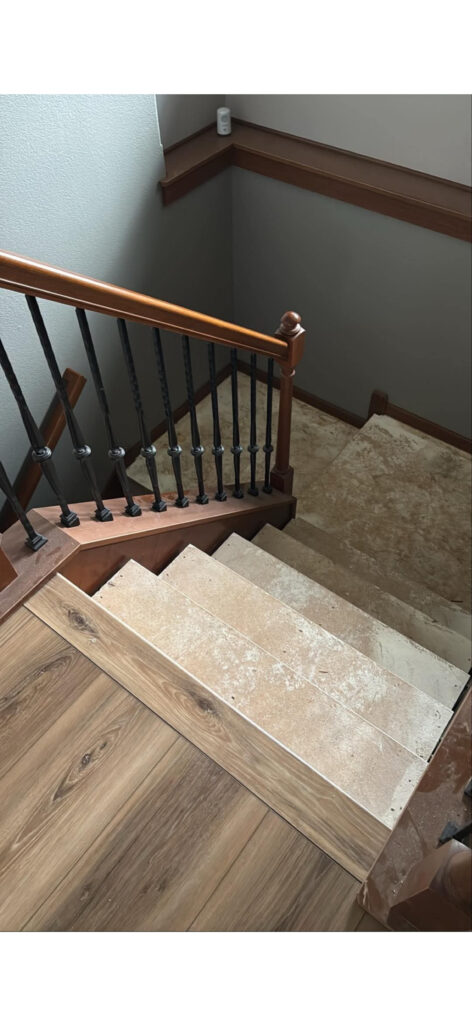
Prepared flooring work area
A prepared work area gives the installation room to move.
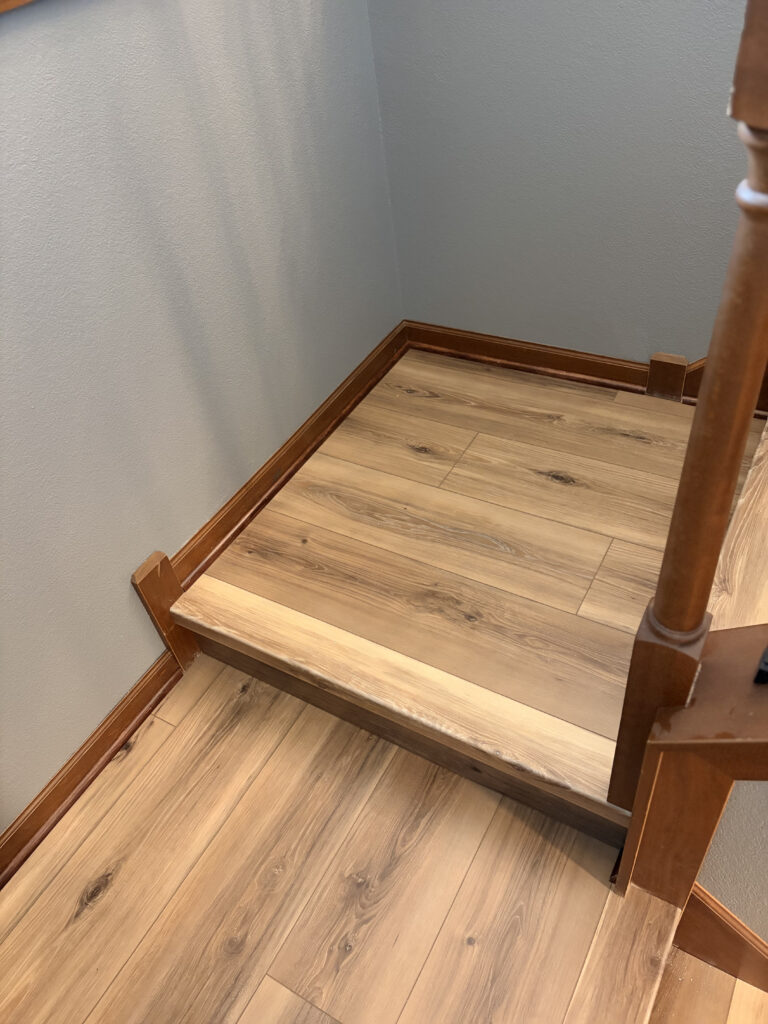
Finished flooring through a residential room
The re-entry plan should account for the exact flooring and installation method.

Keep decisions within reach

Hidden residue, damaged substrate, unexpected height changes, or a transition that differs from the original plan may require a decision. Make sure the installer knows who can approve a scope change and how to reach that person. Keep product instructions, order details, extra material, and agreed trim selections available.

The morning-of reset

  • Unlock the agreed entrance and clear the parking/load-in path.
  • Remove final personal items and secure pets.
  • Confirm the rooms, plank direction, starting area, transitions, and trim expectations.
  • Point out shutoffs, alarms, building rules, and any condition that changed.
  • Exchange the best contact number for questions during the work.

Make the first day count

A few project details now can prevent hours of avoidable confusion later.

Start your project plan

Questions, answered

Plan with fewer surprises.

Straight answers about preparation, materials, timing, and what helps define an accurate scope.

What information helps you prepare an estimate?

Rooms or approximate square footage, ZIP code, current flooring, desired timing, known problem areas, and a few clear photos provide a useful starting point. A final scope still depends on the actual space, selected material requirements, and agreed responsibilities.

Do I need to move furniture before installation?

Furniture responsibilities should be confirmed before work begins. Small belongings, breakables, electronics, and wall décor near the work area should be removed. Large furniture and appliance handling depend on the project scope and should never be assumed.

How long does a flooring project take?

Timing depends on room count, removal, preparation, layout complexity, stairs and transitions, occupied-space logistics, and the selected product. Midwest LVP can give a more useful schedule after reviewing the space and defining the scope.

Why does floor preparation matter?

The finished floor relies on the surface beneath it. Residue, movement, damaged areas, abrupt height changes, high spots, and low areas can affect appearance or performance. Preparation should follow the selected manufacturer requirements and verified site conditions.

Can LVP be installed in a basement?

Many LVP products are approved for below-grade spaces, but the exact product instructions and the actual basement conditions control the decision. Active moisture, drainage, leak, or substrate problems should be resolved before new flooring is installed.

Keep exploring

From questions to a finished floor.

Connect the practical advice, visible workmanship, and service details that shape a better project.